[GUIDE] Import Chase Bank Transactions to QuickBooks
Ultimate guide Import Chase Bank Transactions to QuickBooks
Oct 11, 2023 | Read time 8 minutes
📗 Table of contents
Introduction
A common gripe that I have with QuickBooks is that the bank feeds do not work well. There is always something going on.
This came up when I recently tried to get my Chase Bank feed into QuickBooks.
While QuickBooks does have a bank feed, it’s not always the silver bullet for every bank transaction scenario. Consider these potential hurdles:
- Transaction history exceeds 90 days? Bank feeds have a 90-day limit, so you’re out of luck if you need data older than that.
- Trying to extract transactions from a now-closed bank account?
- There are times when theres connectivity or just general bugs while linking QuickBooks with the bank feed.
- Not great from a security stand point - since you have to share your bank login credentials with QuickBooks.
For these reasons and more, I’ve refined a method to help you sail smoothly. In this guide, I’ll walk you through the steps to convert a Chase Bank statement PDF into a CSV format, ready for seamless import into QuickBooks. Let’s dive in!
In this post I will go over my process of taking a Chase Bank statement PDF, converting it to CSV and then finally importing it into QuickBooks.
Generally the steps involves:
- Downloading the Chase Bank statement PDF
- Export the bank statement to CSV
- Clean data for QuickBooks
- Import into QuickBooks
Step 1: Download your Chase Bank statement
The first step is to get your statement from Chase Bank.
We need to go to the website and do the following:
- Sign into your account
- Choose the correct account from the “Accounts” menu or from your home screen.
- Click “Statements & Documents”
- Click on the month’s statement ‘blue link’ that you need to download
- Click “Download PDF”
Analysis of Chase Bank statement
To properly import our Chase Bank statement to QuickBooks, we need to know how it looks and check for any gotchas:
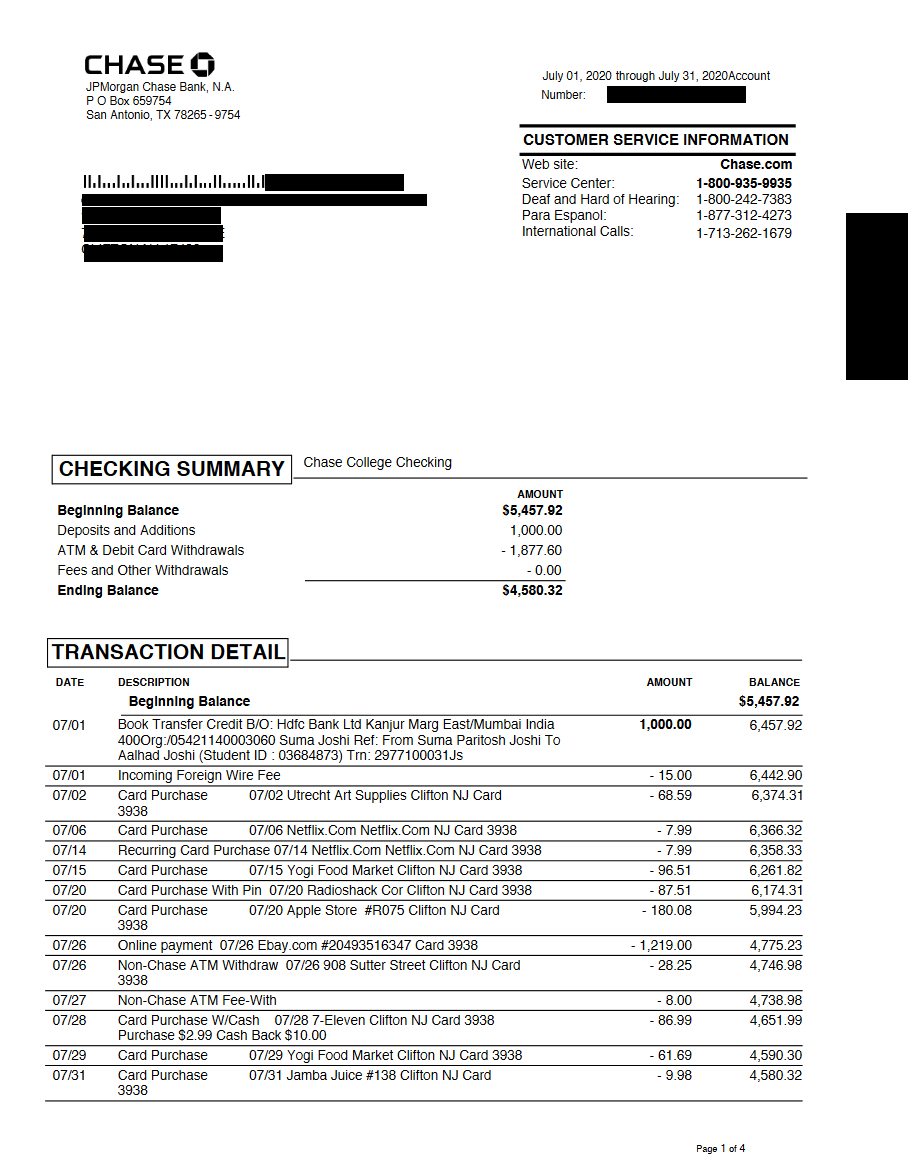
Some observations
- The transactions table have typical columns that are consistent with other banks - “Date”, “Description”, “Amount”, “Balance”
- Unlike other banks, they only have one column for the “Amount”. Most banks usually have a “Debit” and “Credit” columns. This makes our job easier since we know “Debits” would be negative and “Credits” as positive
- Unfortunately the date does not include the year and follows the US format of
<Month>/<Day>. So we will need to figure out the Year and update it accordingly in our Excel file.
Step 2: Export the bank statement to CSV using Pdfdodo
The next step is to take the Chase Bank PDF statement and convert it to CSV. This option is created by yours truly. Just sign up with an account and you try it out for free.
To do start the CSV conversion, we go through the following steps:
- Step 1: Get an account with PdfDodo
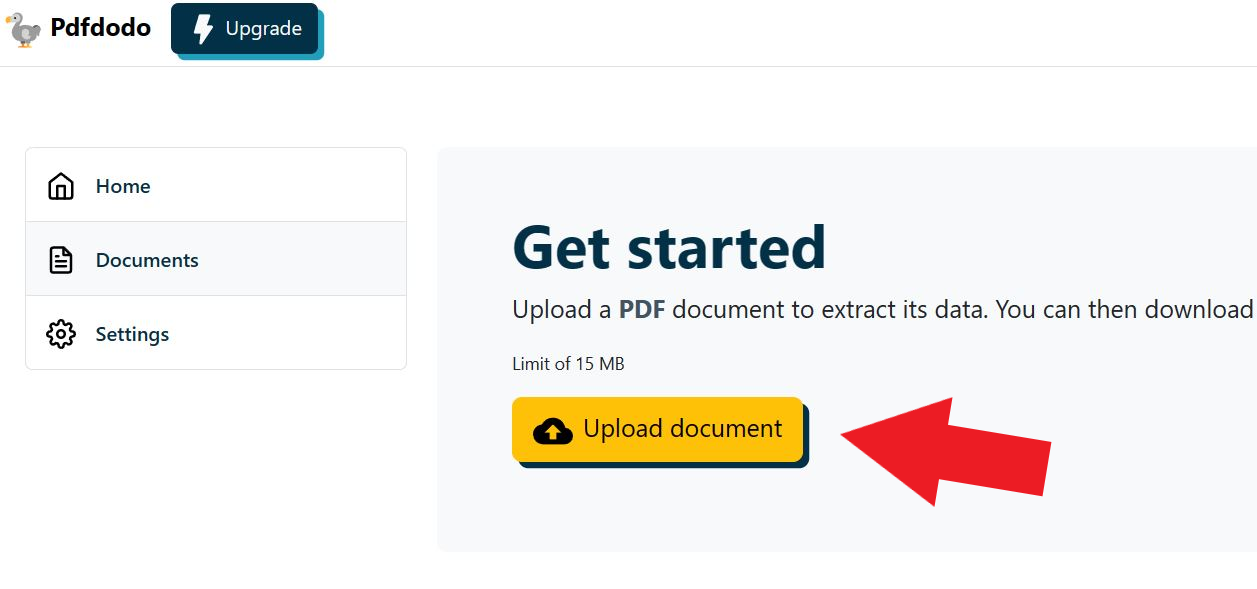
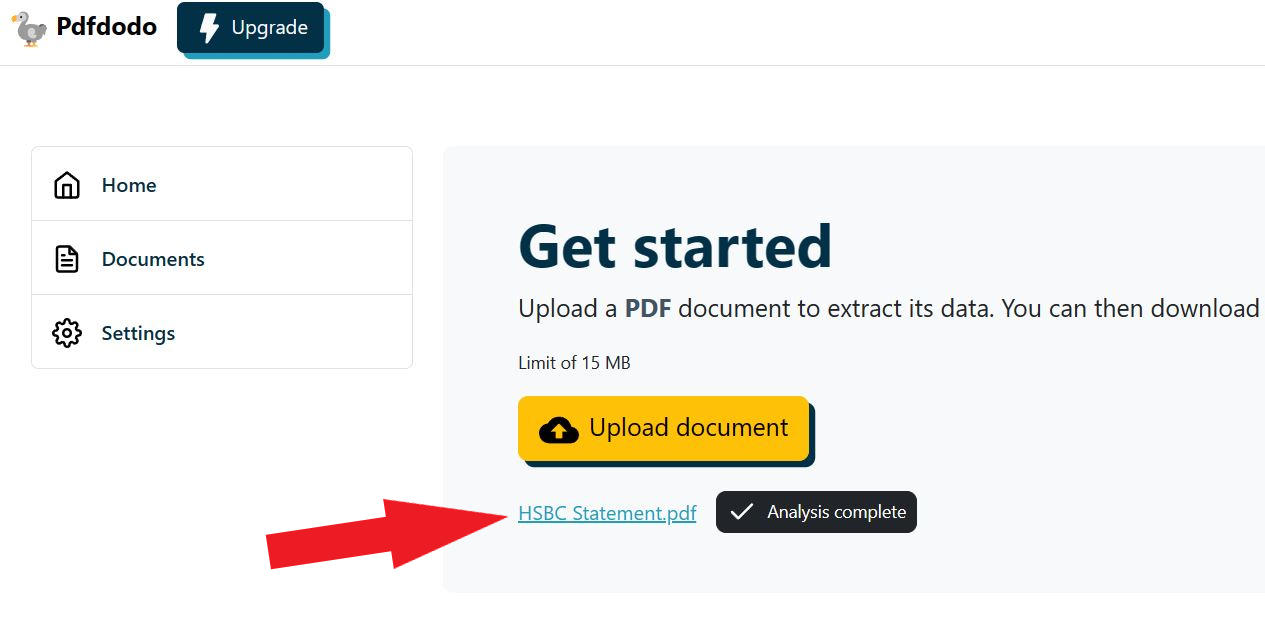
- Step 2: Go to the home page and click “Upload Document”
- Step 3: After the document has uploaded - click “Start Analysis”. This will usually take a few seconds.
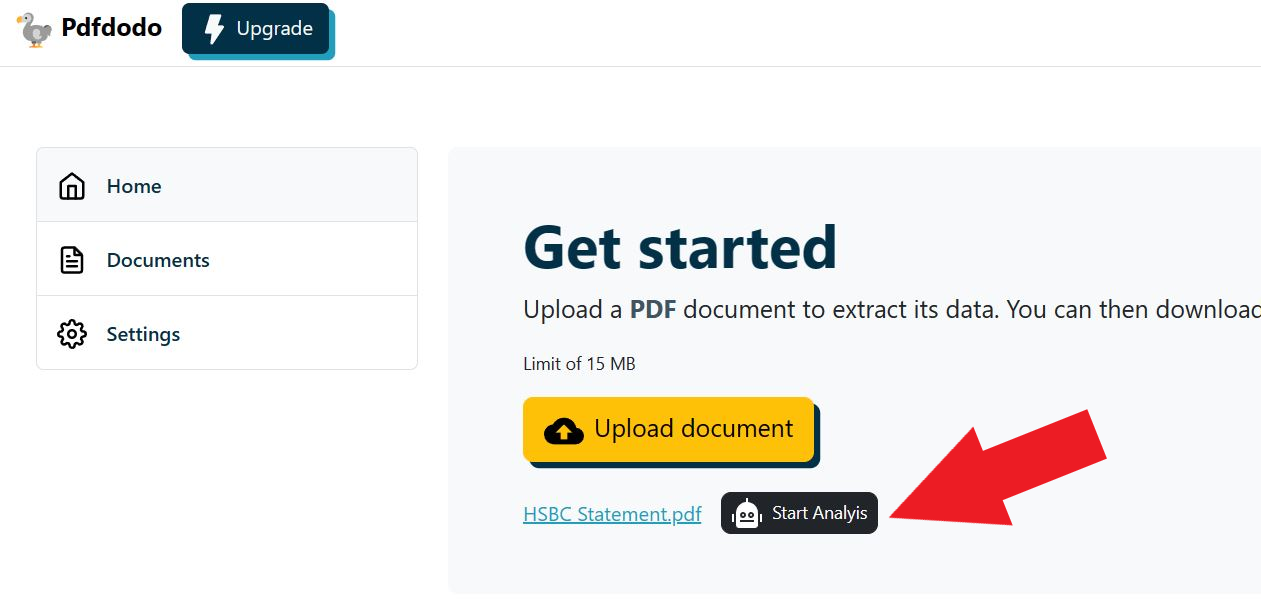
- Step 4: Click on the uploaded document link to see the results.
After PdfDodo has completed analysis, it will list out all the data that it thinks is in a table format.
Now we can see our result and download the Excel or CSV file:
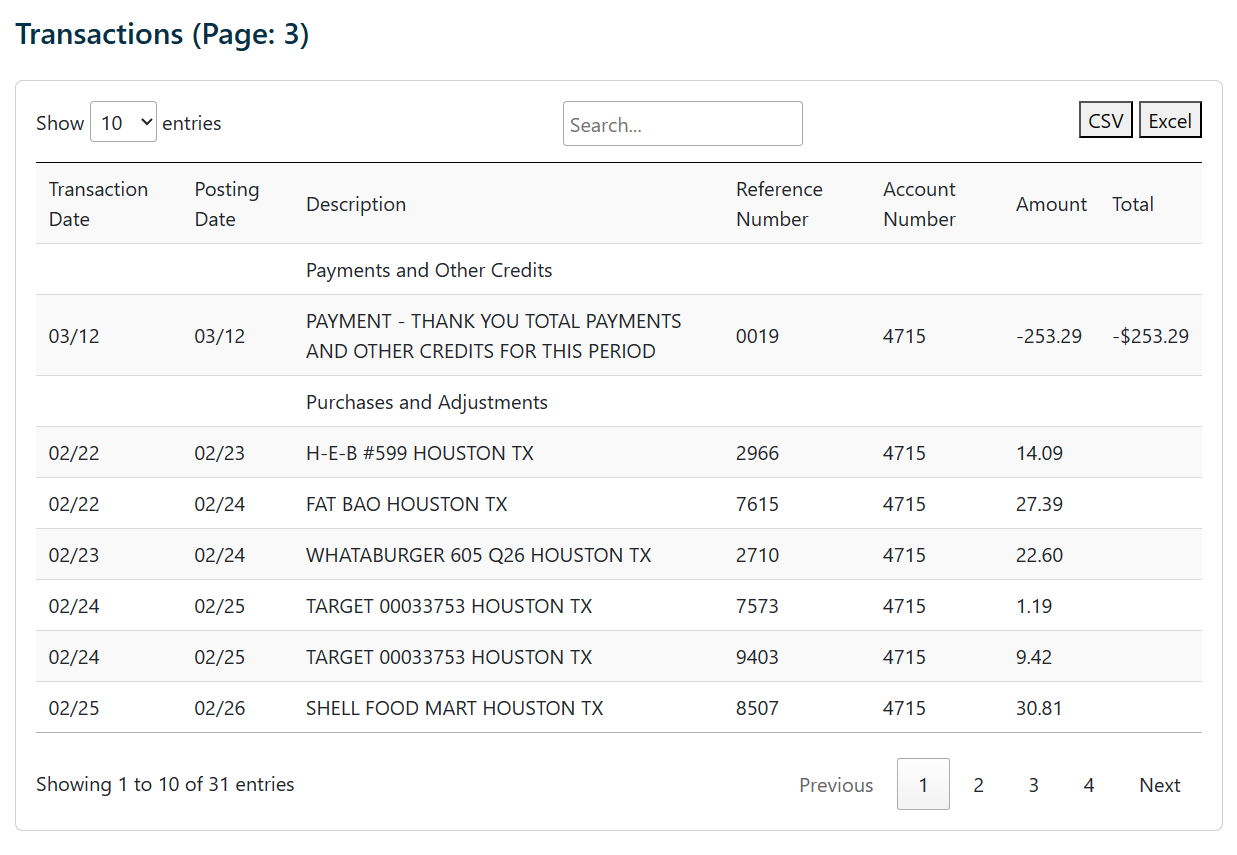
As we can see it correctly matches the columns and rows - even the row with multiple lines!
Benefits of using PdfDodo
- Gives accurate CSV or Excel extraction. It has been trained on 11,000+ banks.
- Has OCR capability. This means it works on scanned and text based PDF documents.
- Free to use and no need for bulky software to be installed on your machine!
Step 3: Clean data for QuickBooks
In my experience, the third step tends to be the lengthiest.
For this step, we’ll modify the CSV from Step 2 to match QuickBooks' format.
QuickBooks typically supports CSVs with either a 3-column or 4-column layout.
For the 3-column format, the columns should be arranged as: “Date”, “Description”, and “Amount” in this sequence.
An example is as below:
| A | B | C | |
|---|---|---|---|
| 1 | Date | Description | Amount |
| 2 | 1/1/2018 | Example of a payment | -100.00 |
| 3 | 1/1/2018 | Example of a deposit | 200.00 |
For the 4-column structure that QuickBooks understands, you will need to have the columns: “Date”, “Description”, “Credit”, “Debit”
| A | B | C | D | |
|---|---|---|---|---|
| 1 | Date | Description | Credit | Debit |
| 2 | 1/1/2018 | Example of a payment | 100.00 | |
| 3 | 1/1/2018 | Example of a deposit | 200.00 |
Looking at our Chase Bank statement, we need to fix up a few glaring issues.
- Update the date format
- Remove the Balance column
- Remove any “total”/ “ending balance” rows
1. Date column to have correct format
Open the CSV in Excel and right click one of the date columns. Click “Format Cell” and then select the format that is "dd/mm/yyyy"
2. Remove the Balance column
QuickBooks does not require the final “Balance” column. So we can safely remove this before our import.
3. Remove any “total” rows
Now if you see any rows that contains the totals, we will need to remove this.
The Chase Bank statement will usually have a “ending balance” row. We need to remove this so that it does not skew our results when importing to QuickBooks.
Your final CSV might look something like:
Date, Description, Amount
2023-07-15, Office Supplies, 50.00
2023-07-20, Client Invoice, 750.00
2023-07-25, Internet Bill, 80.00
Step 4: Import into QuickBooks
The final step is to import our cleaned CSV into QuickBooks.
- Login to QuickBooks Online.
- Find and click on the gear icon at the top left of the page. Then, click Import Data.
- Pick the type of data to import. Be it customers, vendors, or bank data, it’s all in QuickBooks. You can only pick one at a time for every import.
- Select CSV as the file type you want to upload.
- Locate Your File. Click the button to find your CSV file on your computer.
- Map Columns. This is like matching puzzle pieces. QuickBooks will ask you to match the columns in your CSV to the right places in QuickBooks.
- Review and Import. Click Review. Then, QuickBooks will show you what it plans to do. If everything looks good, proceed to Import.
Tip: If you’re new to QuickBooks, you may not have an account to upload the transactions into. If you don’t see one, select Add New ▼ from the dropdown to connect a new bank account.
Final thoughts
Importing the Chase Bank statement into QuickBooks is relatively straightforward. Firstly, utilize PdfDodo to transform the PDF file into a CSV format.
Following that, the most tedious part is to format the CSV to a structure QuickBooks recognizes, which includes “Date”, “Description”, and “Amount”.
This involves cleaning the date format, remove unnessary columns like “Balance” and Remove any “total” or “ending balance” rows!
👋 About the Author
G'day! I am Ken Ito a software engineer based in Australia. I have worked as a software engineer for more than 10 years ranging from roles such as tech lead, data analyst to individual contributor. I have experience in creating code (python, javascript) to extract data from PDFs for ETL and financial statement analysis for accounting purposes.
During those years, I have worked for Government departments, companies like NTT (Nippon Telegraph and Telephone), Bupa and not-for-profit organizations.
3 Ways to Convert Pdf to Excel Without Losing Formatting
Sep 21, 2023Step by Step to convert your scanned PDFs to Excel without losing formatting.
[FIXED] Xero import Bank Statement CSV errors
Oct 4, 2023Top 5 tips to fix Xero import bank statement errors.
TD Bank Statement pdf to excel converter
Sep 24, 2023How to convert your Td Bank statement to Excel. A step by step guide!